

At a glance
Before you start
You need:- A Clockify account that is a member of the workspace you want to use.
- An allowed integration. An owner or admin sets Clockify to Allow under Admin → Connectors → Catalogue.
- A Clockify API key. In Clockify, open Profile settings → Preferences → Advanced, select Manage API keys and generate a key named for Hebno.
Connect Clockify
1
Start the connection
Open Settings → Connections, find Clockify and select Connect. You can also select Connect from the prompt in a chat.
2
Paste your API key
Paste the API key and select Connect. Hebno detects your Clockify region and lists the workspaces your account belongs to.
3
Choose a default workspace
Pick the workspace Hebno uses for new time entries. You can still ask about any workspace you belong to.
What Hebno reads
Reports come from the Clockify Reports API at the time of the request, so totals match what you see in Clockify. Amounts and rates appear only if your role can see them. Reads are live. Hebno queries Clockify when a request needs it. Only what a reply used is stored with the conversation as its sources.
What Hebno writes
Every write appears first as a confirmation card. You can change any field before you select Confirm.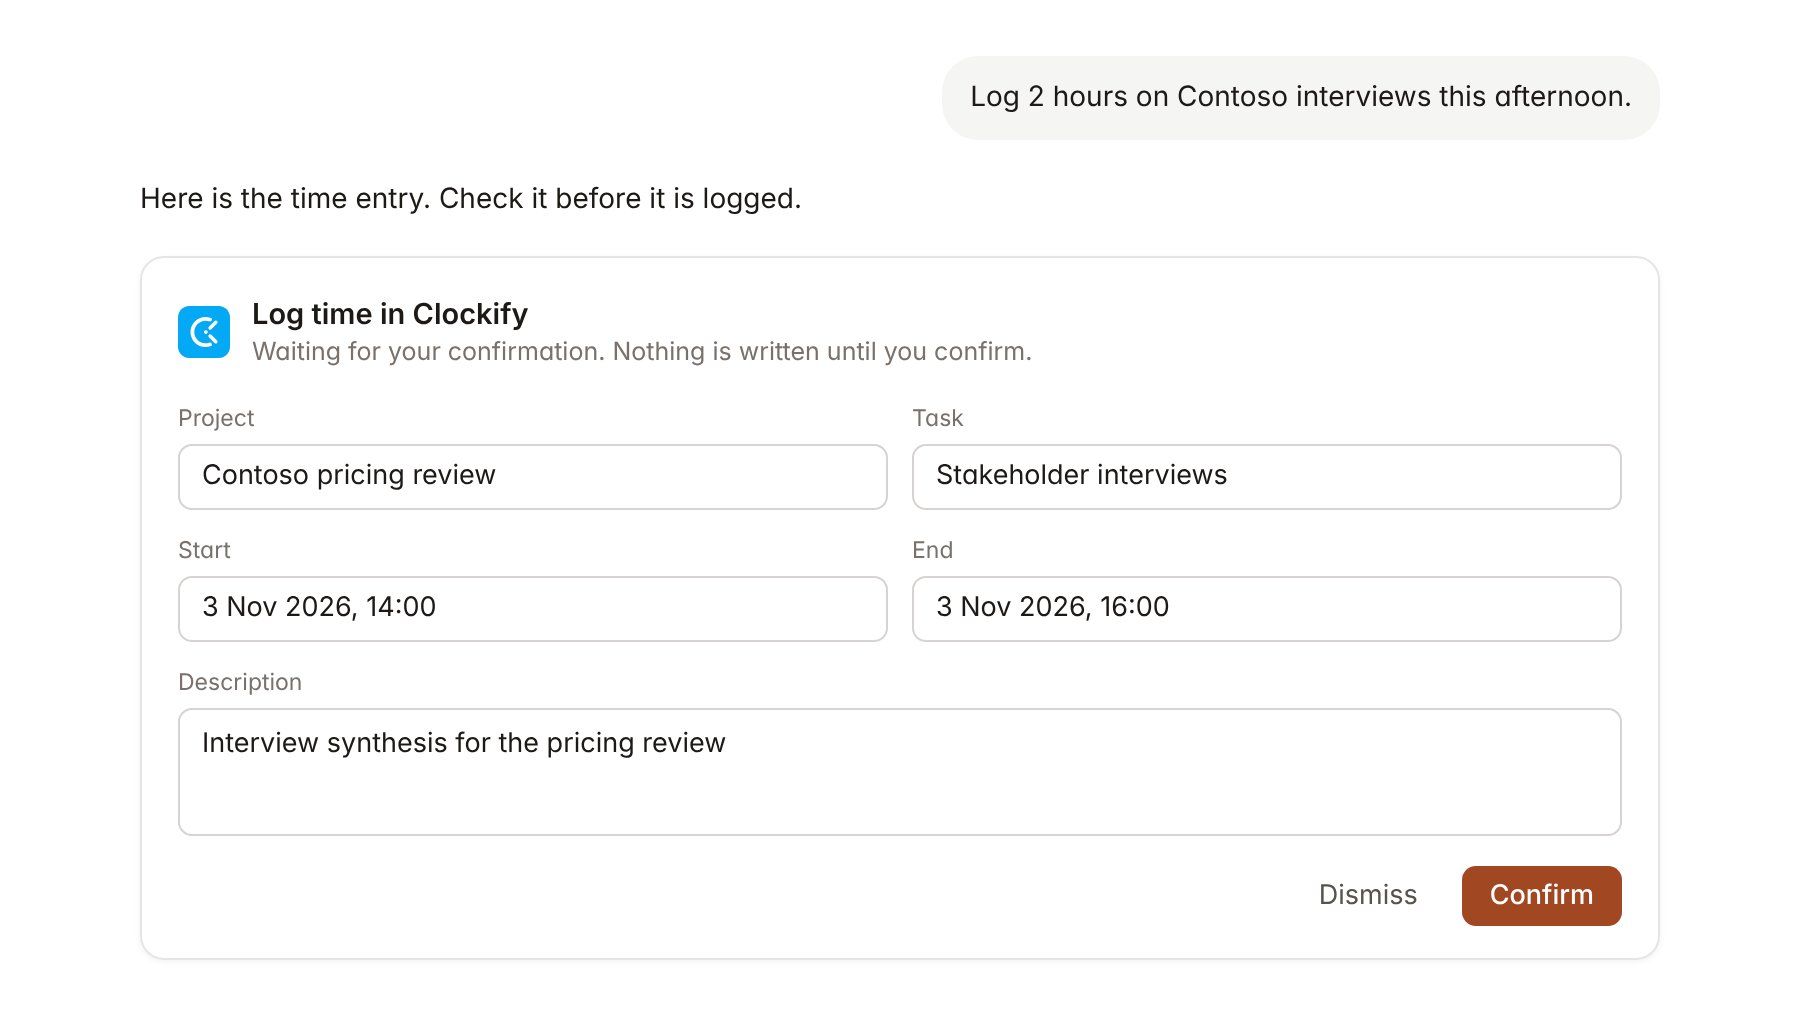
A Clockify change pending confirmation. Nothing is written until you confirm.
Link a project to a Clockify project
Linking marks which Clockify projects belong to an engagement, so you can ask “how many hours so far?” without naming the project.- Open the project and select Brain.
- Under Linked records, select Link record, then Clockify.
- Choose the workspace, search by project or client name, and select the project. Repeat for each Clockify project in the engagement.
Use Clockify in chat
-
Attach: open the + menu, choose Sources → Clockify, and pick a project, a client, your week or a report. Or type
/and choose Clockify. -
Ask: name the client, project or period in your request. For example:
How many billable hours did we log on Contoso Retail in October, and how does that compare with the project estimate?
Which tasks on the Contoso pricing review took longer than estimated?
Log 1.5 hours on Contoso, readout preparation, for today from 14:00 with the tag workshop.
- Research runs show a Checking Clockify step, with a chip for each project, report and time entry it read.
- Agents can read Clockify on a schedule, for example a Friday list of people with fewer than 30 hours logged this week. Writes an agent proposes appear in agent approvals for review.