

At a glance
Before you start
You need:- An owner or admin role in Hebno.
- Your WorkBook address, for example
https://yourfirm.workbook.net, or your own domain for a self-hosted installation. - A WorkBook user for the integration with the API Only access role. This user cannot sign in to the WorkBook interface and cannot call administrator endpoints, which separates the integration’s access from any person’s.
- An API key for that user, created by a WorkBook administrator under Settings → Advanced tools → User access rights → API key setup.
Connect WorkBook
1
Allow the integration
Open Admin → Connectors → Catalogue, find Deltek WorkBook under Projects, and set it to Allow.
2
Connect the organisation
Select Connect, enter your WorkBook address and the integration user’s API key, then select Test connection. Hebno checks that it can connect to WorkBook and lists the areas the integration user can read and write.
3
Choose teams and data areas
Under Who can use it, choose All teams or pick teams. Under Data areas, choose what members can see. See Data areas.
4
Set access
Leave Access on Read and write to let members propose time entries, task changes and bookings, or choose Read only.
Link your own account
Members can link their own WorkBook account so writes are made in their name under their own WorkBook permissions.- In WorkBook, open My settings → Login settings and create a personal API key.
- In Hebno, open Settings → Connections, find Deltek WorkBook and select Link your account.
- Paste the key and select Link.
Data areas
Data areas control what members of the allowed teams can see through the organisation connection. They apply on top of whatever the integration user can read in WorkBook.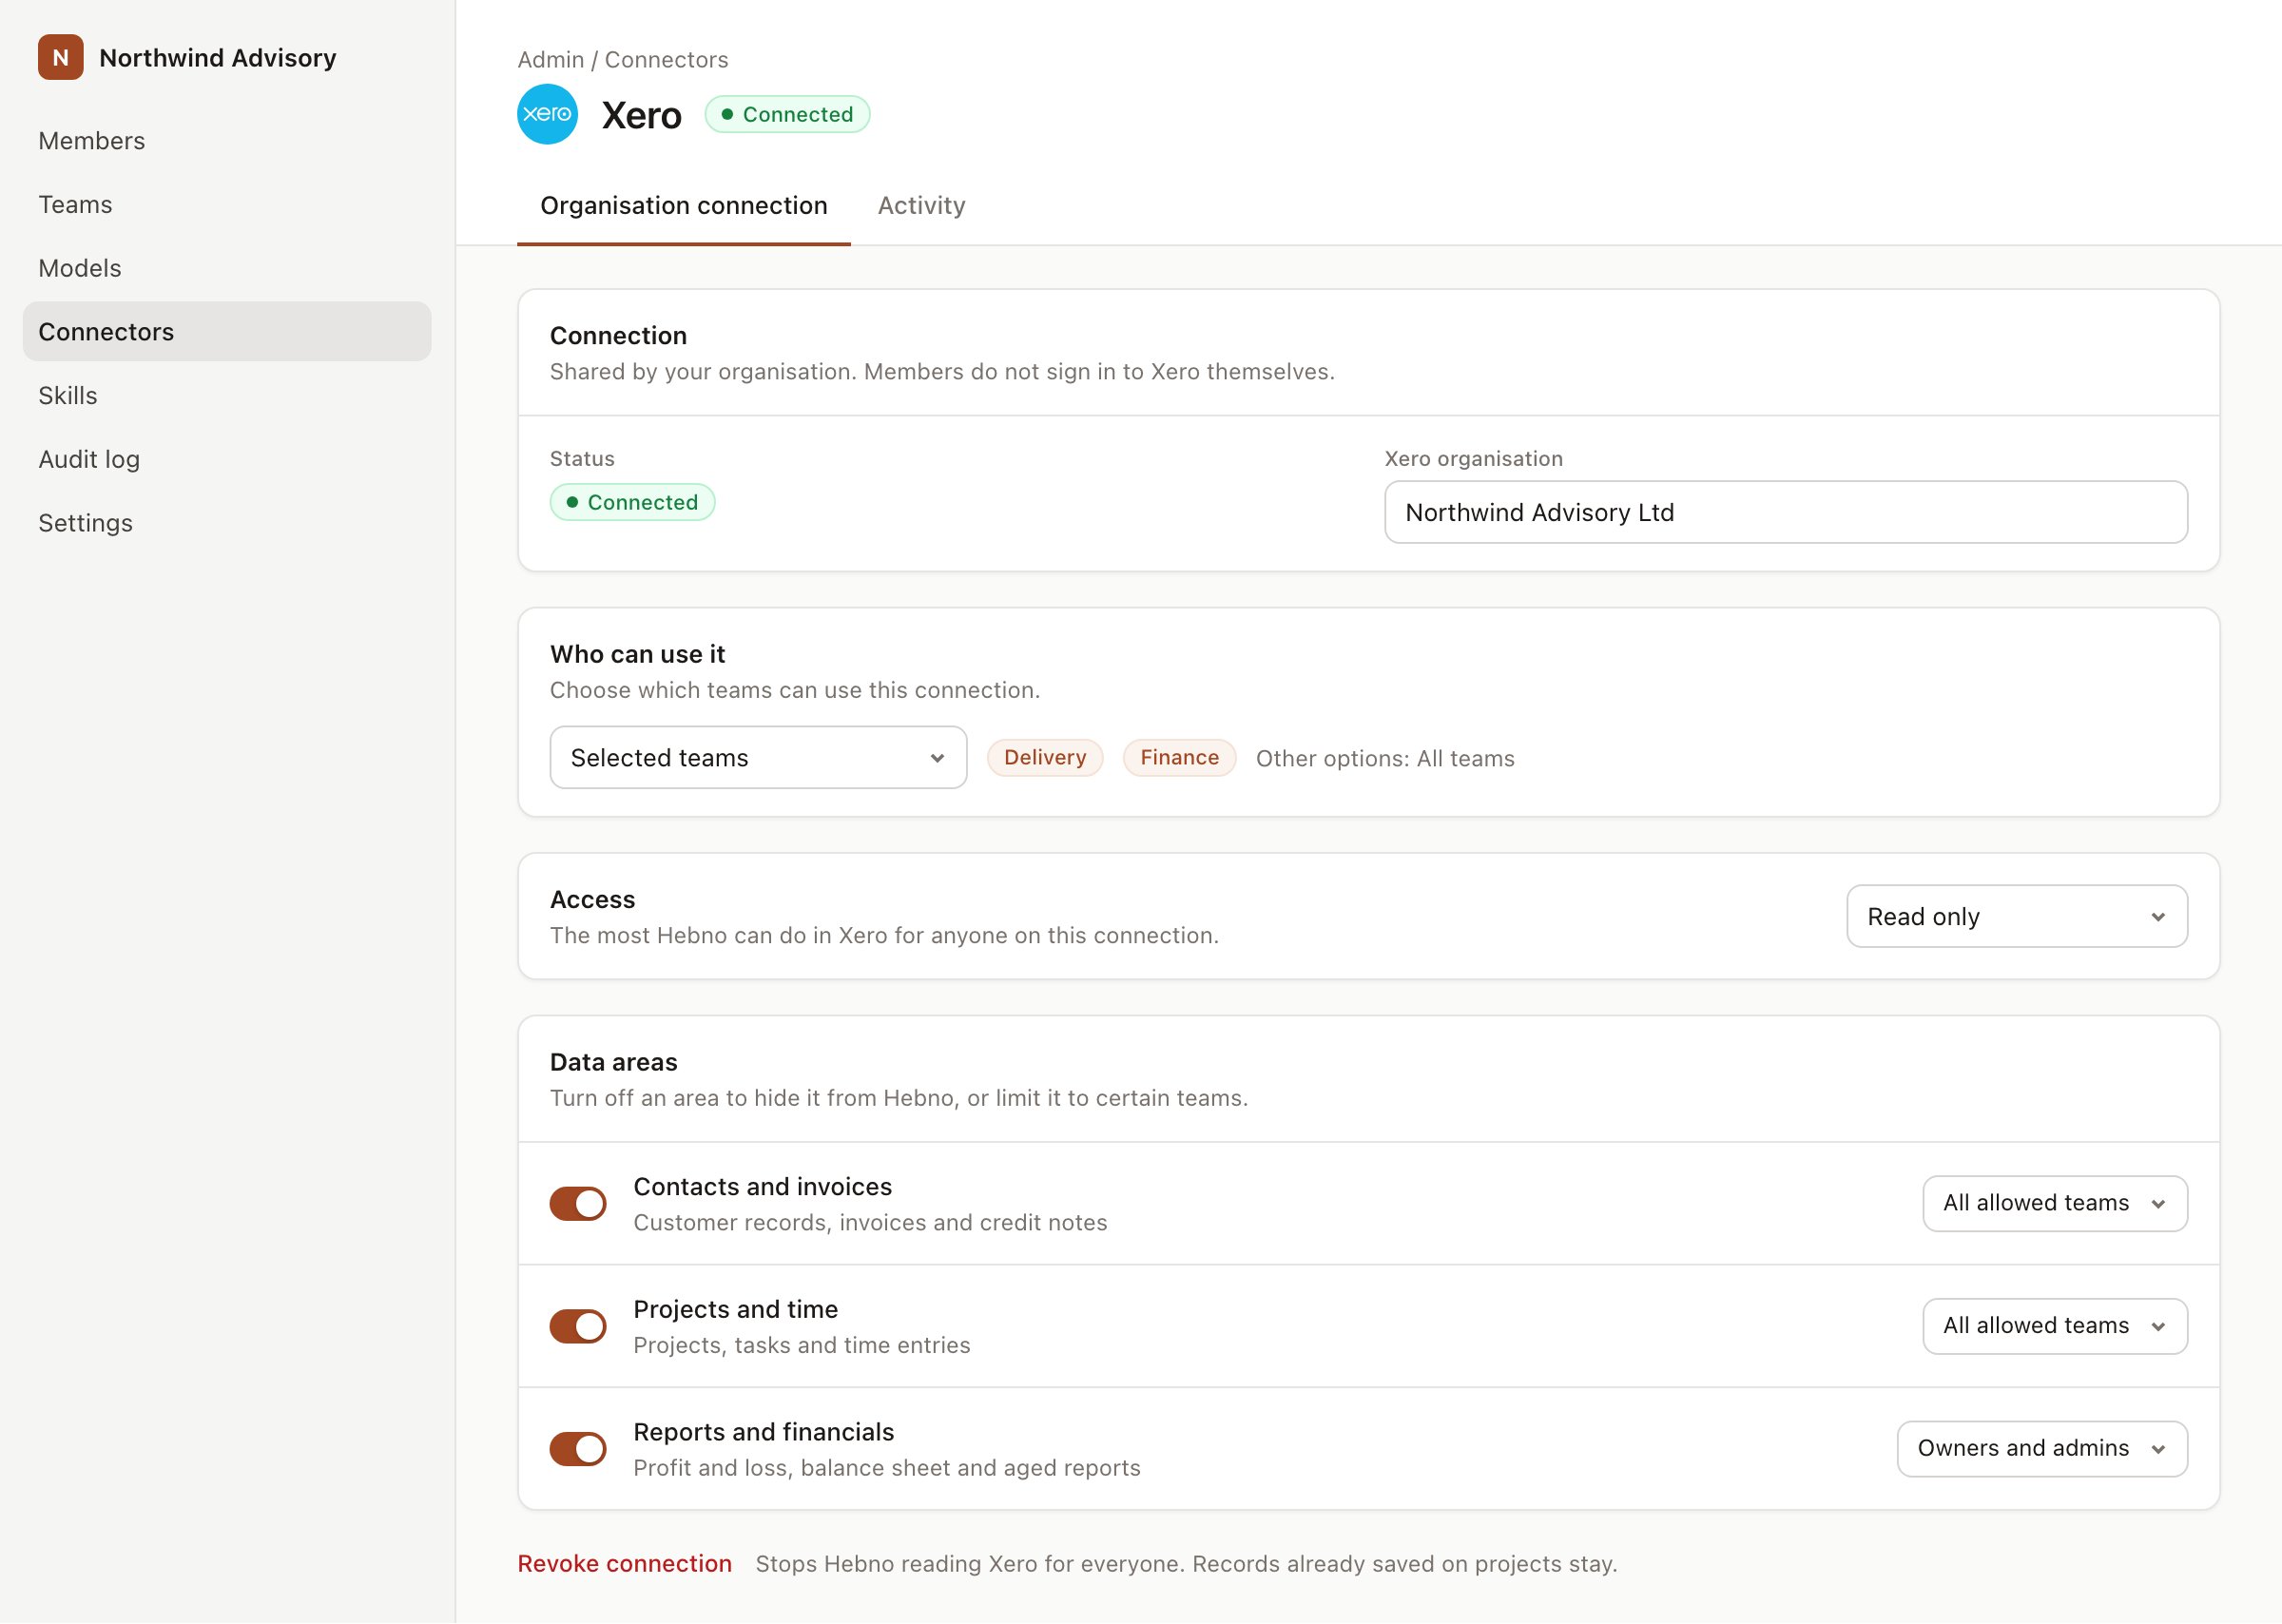
An organisation connection with team access and data areas. Financial figures default to owners and admins.
When a member has linked their own account, Hebno uses that member’s WorkBook permissions instead of the organisation connection. Data areas still apply, so a member never sees more through Hebno than both WorkBook and your Hebno settings allow.
What Hebno reads
Budget burn, WIP and other cross-job figures come from the WorkBook databoard your admin selects under Financial databoard on the WorkBook card. Hebno reads the databoard as it is at the time of the request, so figures match what finance sees in WorkBook.
Reads are live. Hebno queries WorkBook when a request needs it. Only what a reply used is stored with the conversation as its sources.
What Hebno writes
Every write appears first as a confirmation card. You can change any field before you select Confirm.
Hebno never approves timesheets, changes budgets, creates or sends invoices, or changes financial postings in WorkBook.
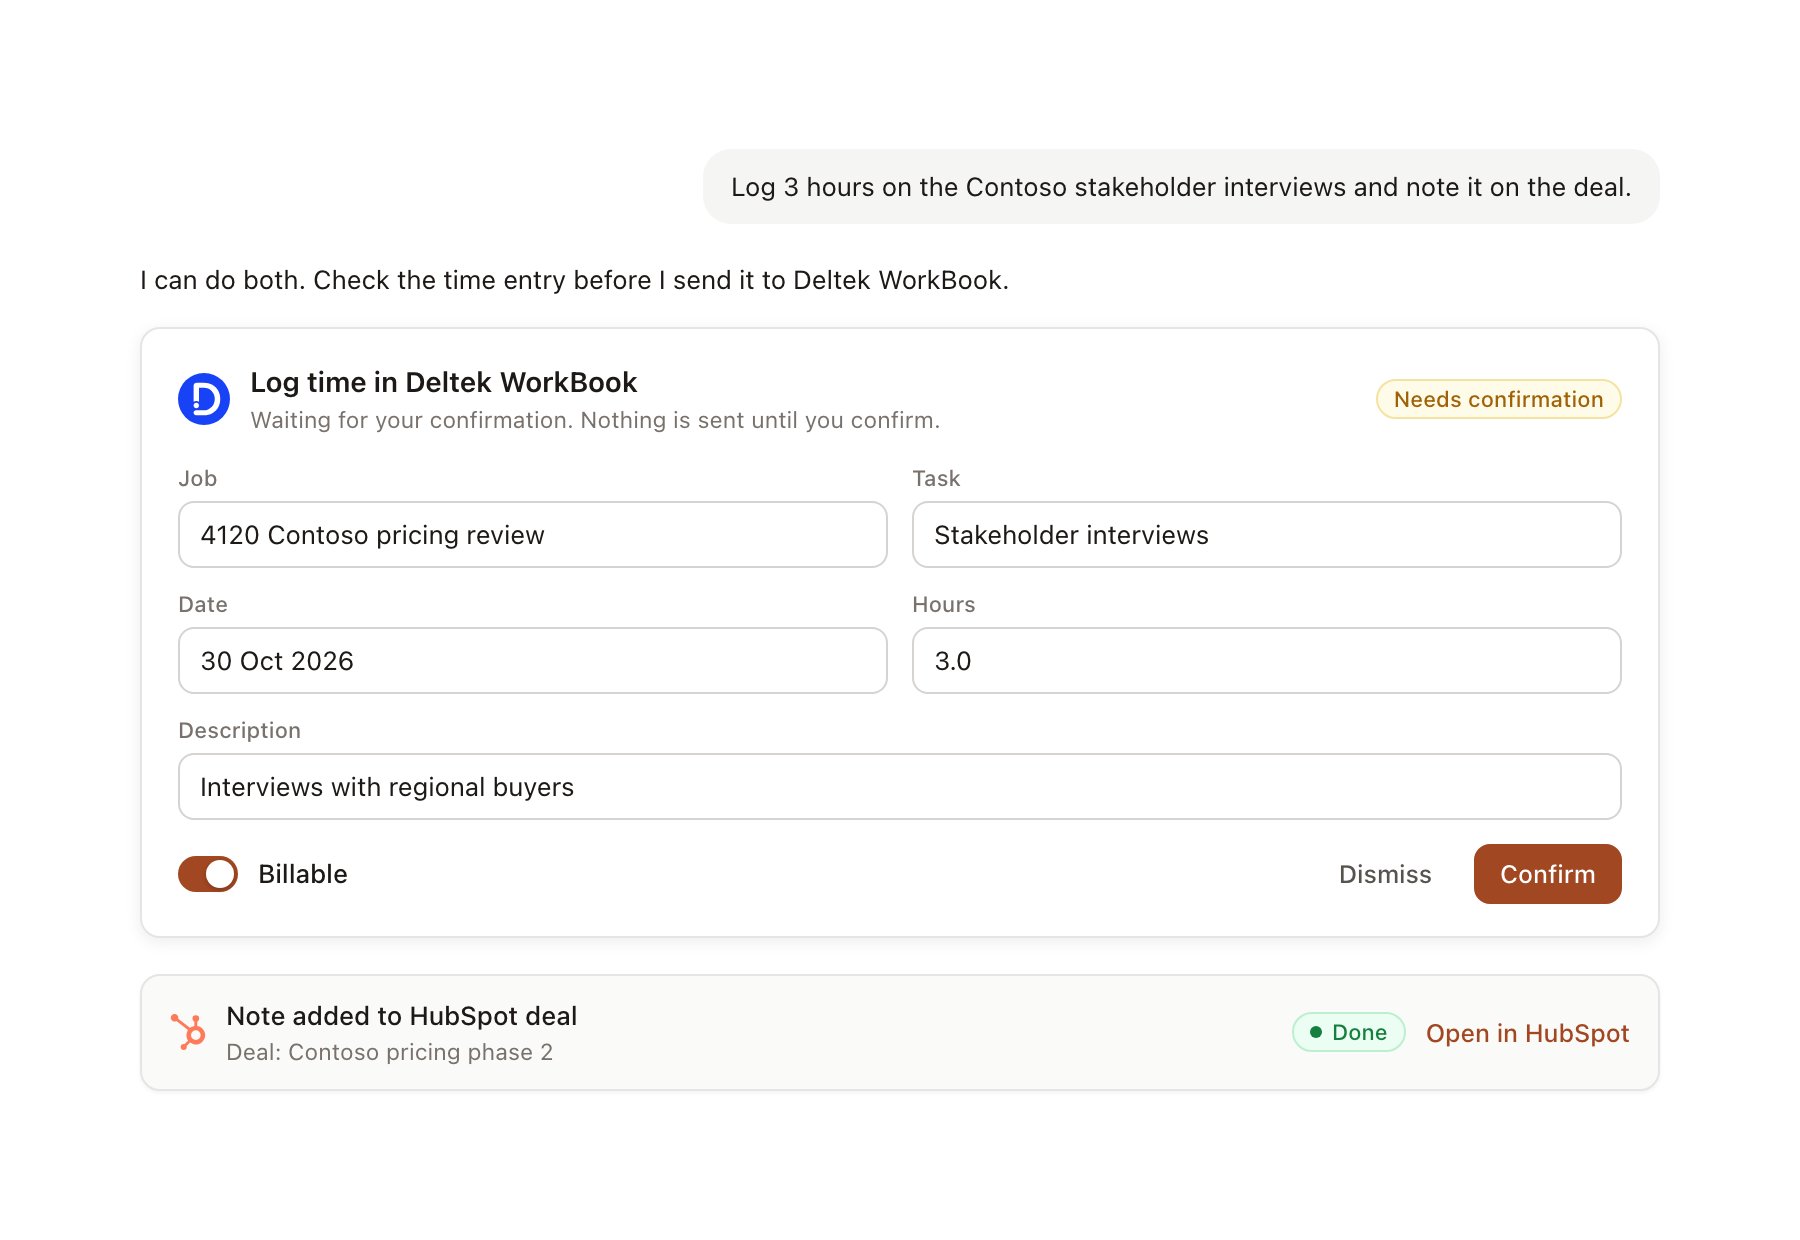
A time entry for WorkBook pending confirmation, with a completed HubSpot note below it.
Link a project to a job
Linking marks which WorkBook jobs belong to a project, so you can ask “how are we tracking?” without naming the job.- Open the project and select Brain.
- Under Linked records, select Link record, then Deltek WorkBook.
- Search by job number, job name or client, and select the job. Repeat for each job in the engagement.
Use WorkBook in chat
-
Attach: open the + menu, choose Sources → Deltek WorkBook, and pick a job, a task, a resource plan or your timesheet week. Or type
/and choose Deltek WorkBook. -
Ask: name the client, job or phase in your request. For example:
How is the Contoso pricing review tracking against budget, and what is left to deliver before the readout?
Draft a steering committee update for Contoso with hours burned by phase and who is booked for the next two weeks.
Log 2.5 hours on job 4120, stakeholder interviews, for yesterday.
- Research runs show a Checking Deltek WorkBook step, with a chip for each job, task or databoard it read.
- Agents can read WorkBook on a schedule, for example a Monday brief on budget burn across active jobs. Writes an agent proposes appear in agent approvals for review.