

At a glance
Before you start
You need:- An owner or admin role in Hebno.
- Your Odoo address, for example
https://yourfirm.odoo.com, or your own domain for a self-hosted installation, and the database name. - An Odoo user for the integration, with access rights to the apps Hebno should read: Project, Timesheets, Invoicing and CRM. Odoo applies this user’s record rules to every call, so the integration can read only what the user may open.
- An API key for that user, created in Odoo under Preferences → Account Security → New API Key.
External API access depends on your Odoo plan. If Test connection is refused on an Odoo Online database, ask Odoo or your partner to confirm external API access is enabled for the plan.
Connect Odoo
1
Allow the integration
Open Admin → Connectors → Catalogue, find Odoo under ERP, and set it to Allow.
2
Connect the organisation
Select Connect, enter your Odoo address, the database name, the integration user’s login and its API key, then select Test connection. Hebno checks that it can connect to Odoo and lists the models the user can read and write.
3
Choose teams and data areas
Under Who can use it, choose All teams or pick teams. Under Data areas, choose what members can see. See Data areas.
4
Set access
Access is Read only by default. Choose Read and write to let members propose timesheet lines, tasks, draft invoices and notes.
Link your own account
Members can link their own Odoo API key so writes are made in their name under their own Odoo access rights.- In Odoo, open Preferences → Account Security and select New API Key. Copy the key.
- In Hebno, open Settings → Connections, find Odoo and select Link your account.
- Paste the key and select Link.
Data areas
Data areas control what members of the allowed teams can see through the organisation connection. They apply on top of what the integration user can read in Odoo.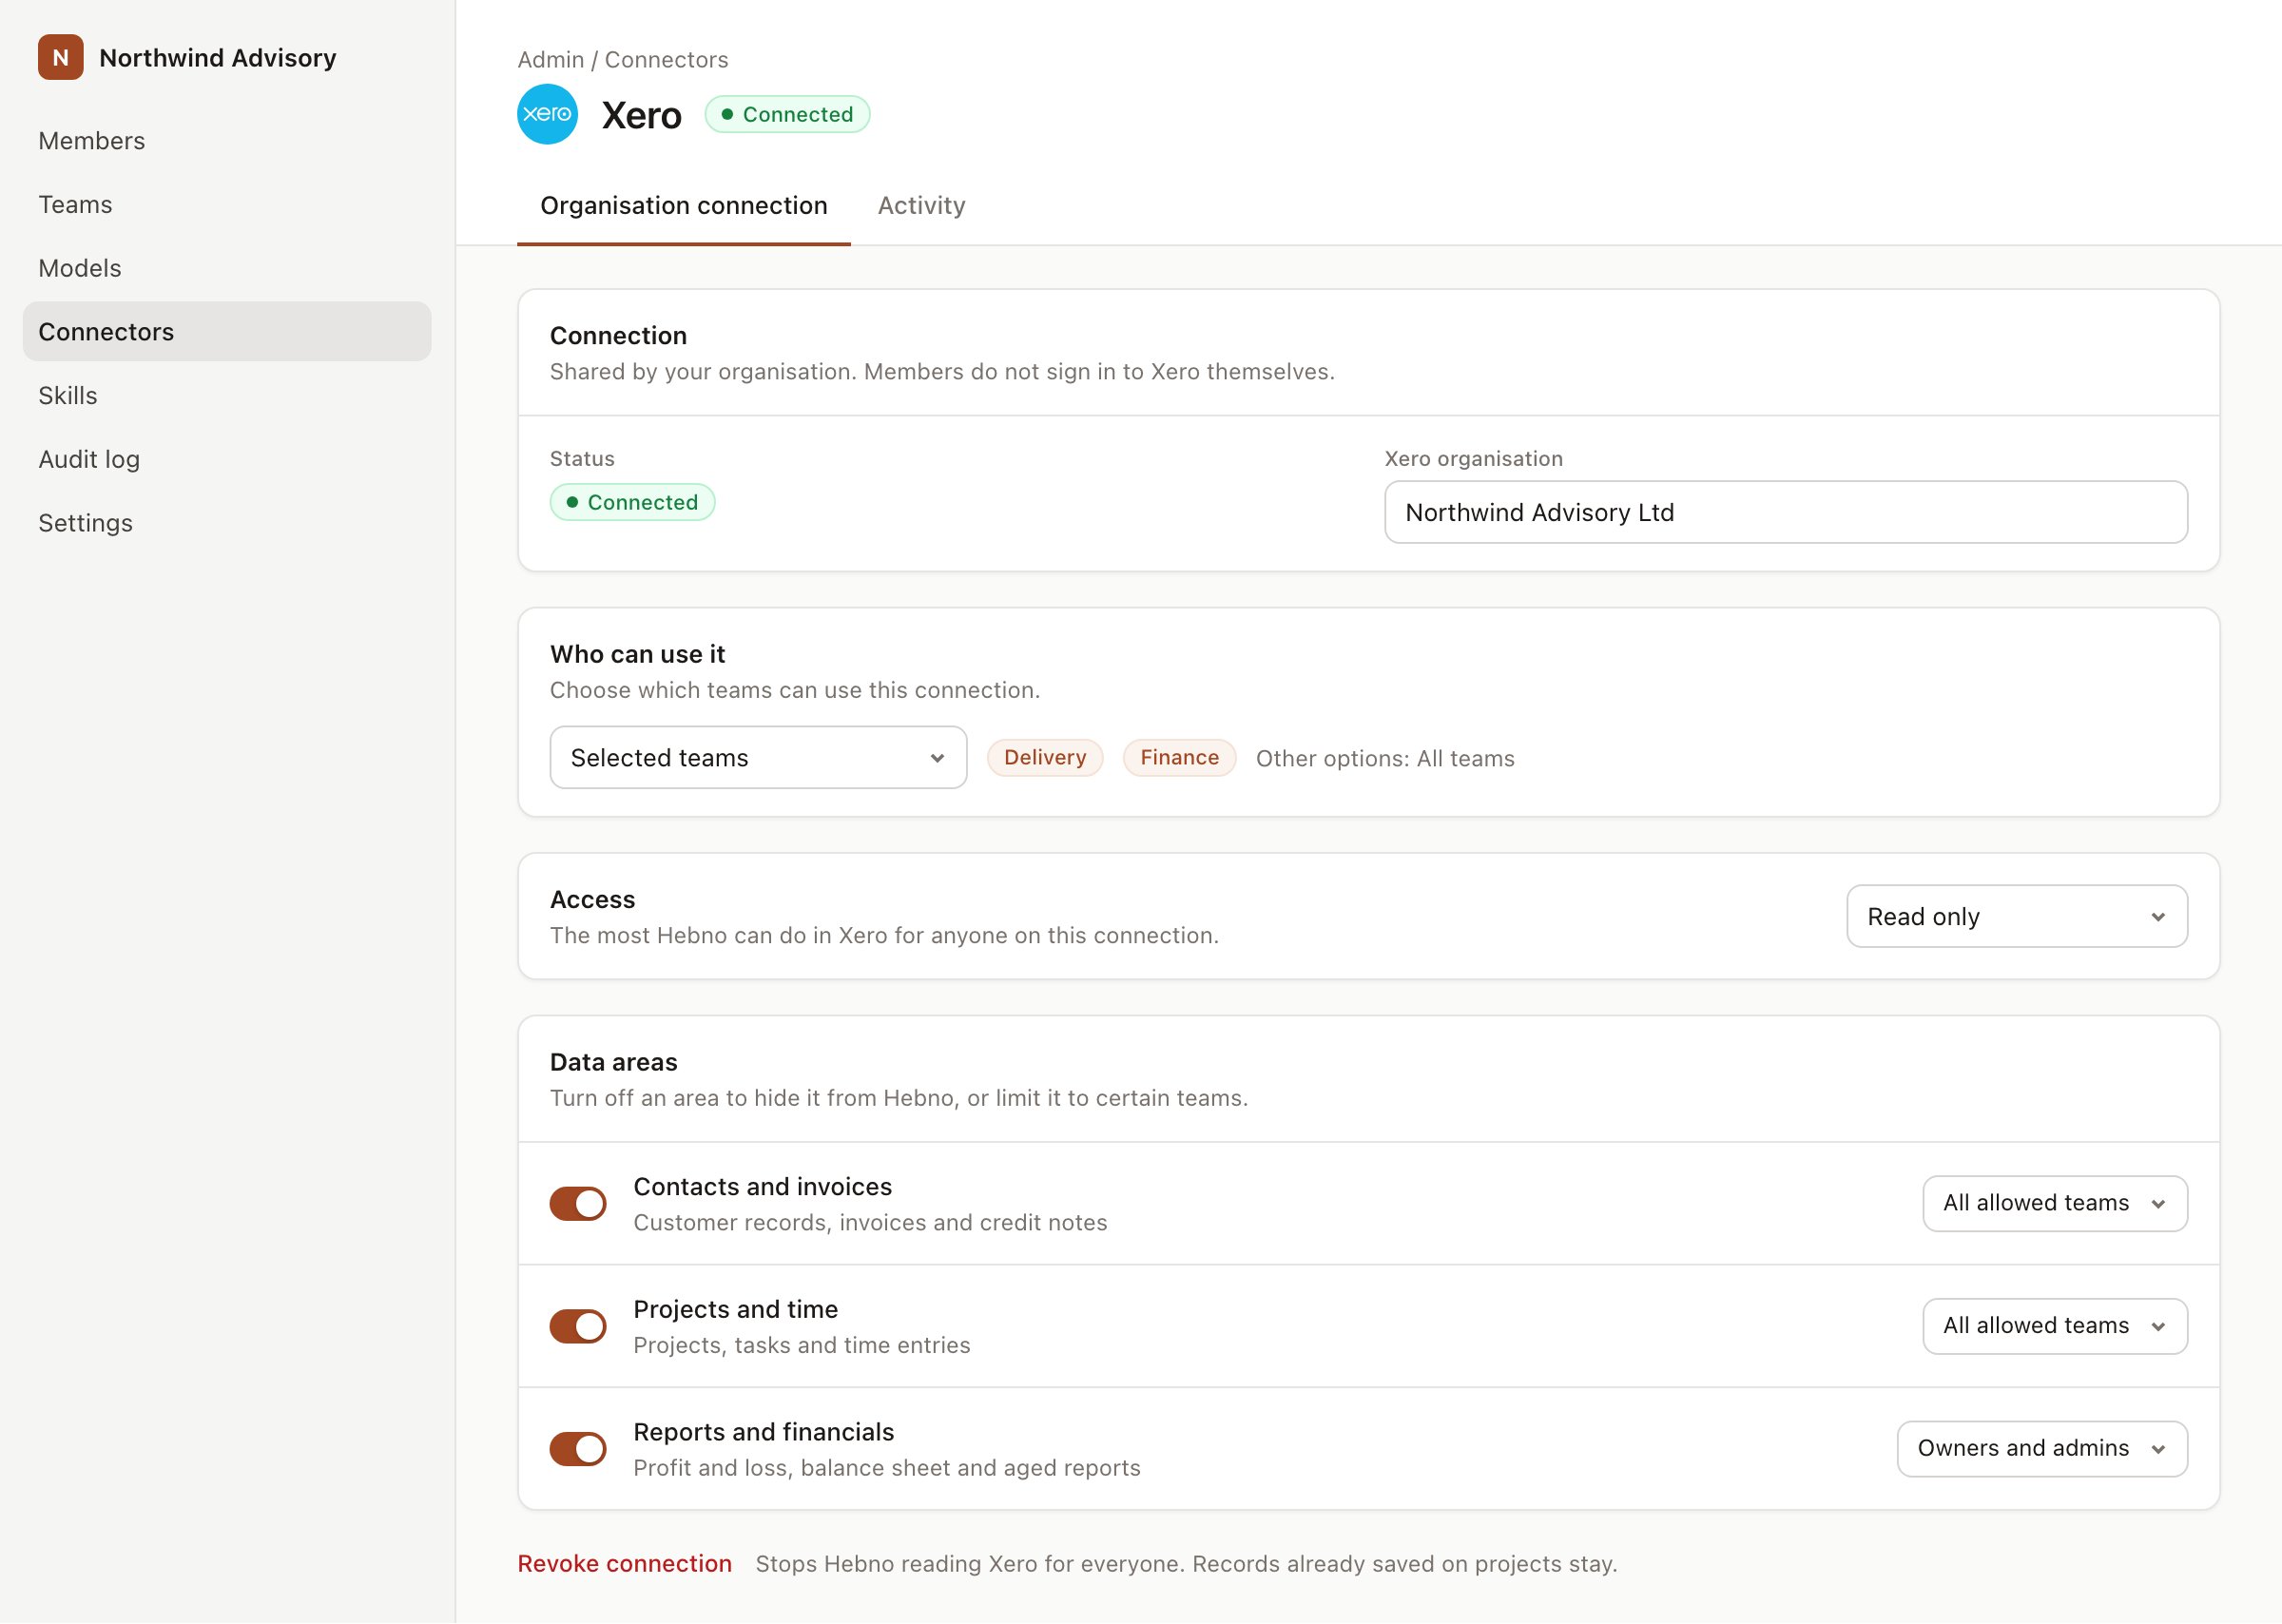
An organisation connection with team access and data areas. Financial figures default to owners and admins.
When a member has linked their own key, Hebno uses that member’s Odoo access rights instead of the organisation connection. Data areas still apply, so a member never sees more through Hebno than both Odoo and your Hebno settings allow.
What Hebno reads
Reads are live. Hebno queries Odoo when a request needs it. Only what a reply used is stored with the conversation as its sources. For totals across many lines, such as revenue by customer, Hebno requests grouped totals from Odoo and reads the result.
What Hebno writes
Every write appears first as a confirmation card. You can change any field before you select Confirm.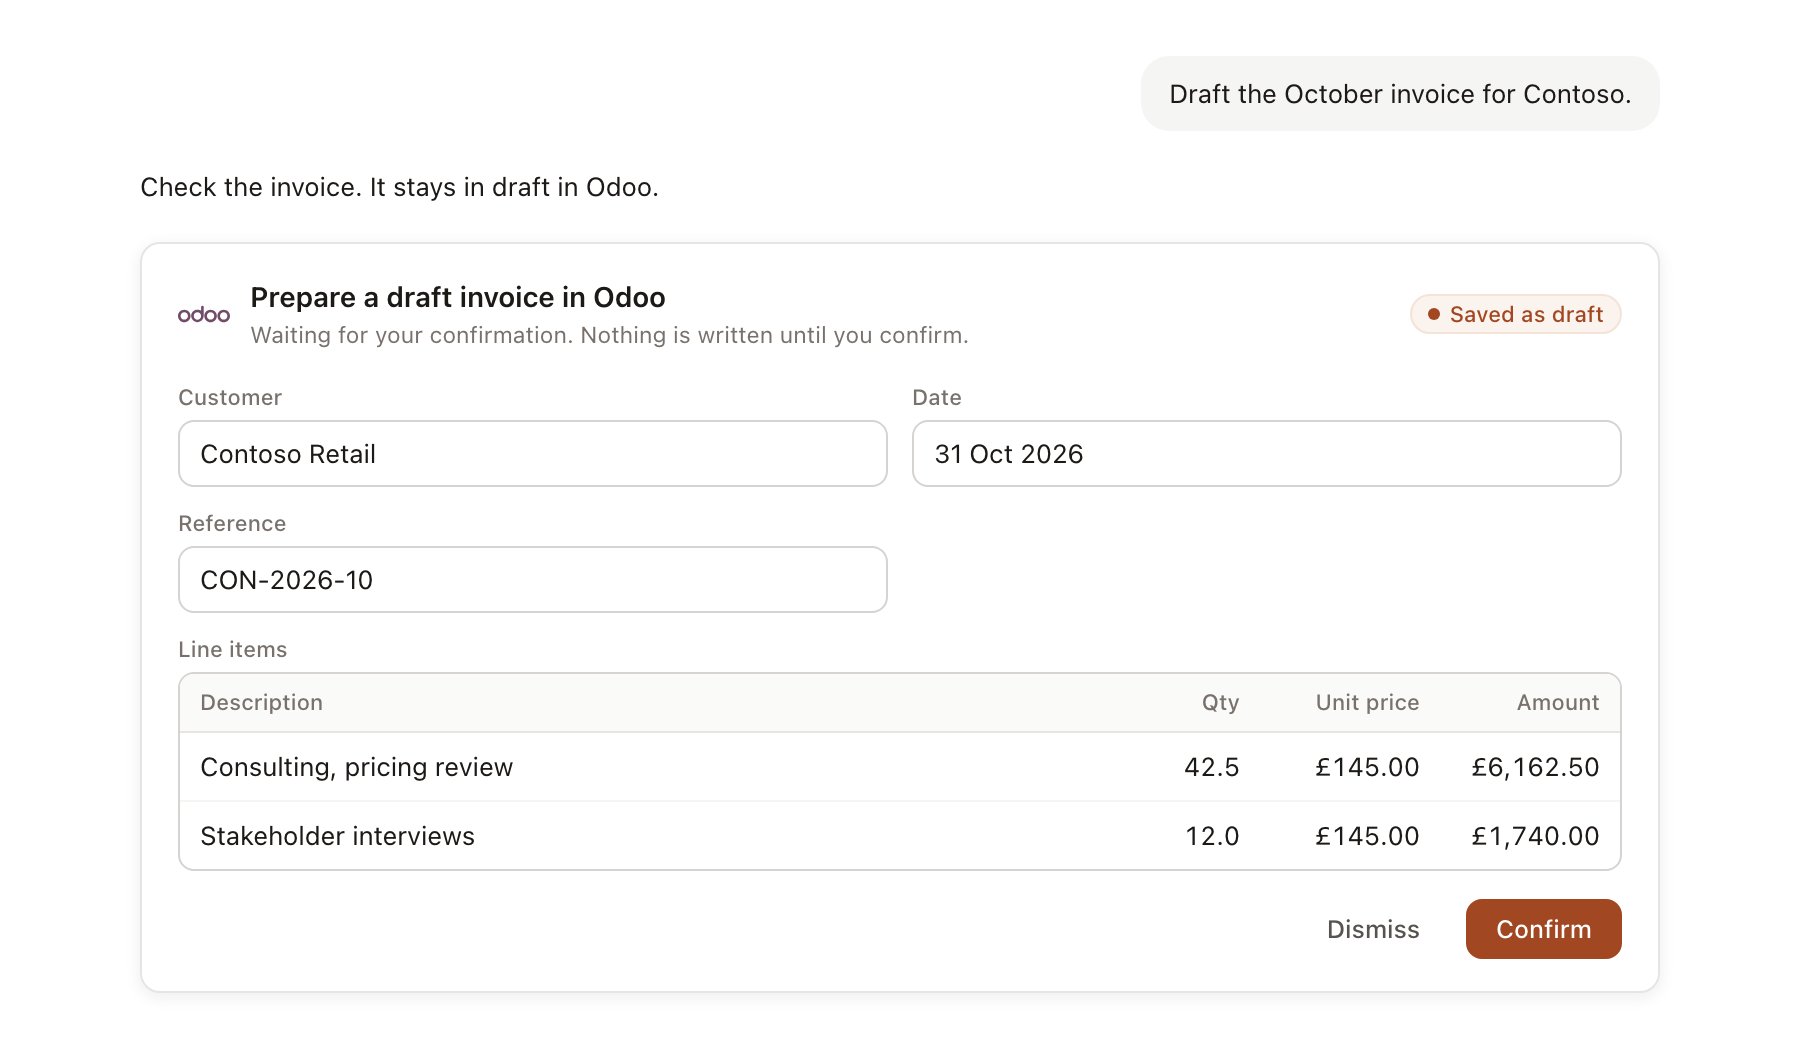
An Odoo change pending confirmation. Nothing is written until you confirm.
Link a project to Odoo records
Linking marks which Odoo records belong to a project, so you can ask “what is left?” without naming the Odoo project.- Open the project and select Brain.
- Under Linked records, select Link record, then Odoo.
- Search by contact name, project name or lead, and select the record. Repeat for each record in the engagement.
Use Odoo in chat
-
Attach: open the + menu, choose Sources → Odoo, and pick a contact, a project, a task, an invoice or a lead. Or type
/and choose Odoo. -
Ask: name the customer, project or period in your request. For example:
What is overdue on the Contoso audit project, and who owns each task?
Compare hours logged with allocated hours by task for the Contoso audit.
Draft an invoice for Contoso for the hours logged on the audit in October.
- Research runs show a Checking Odoo step, with a chip for each record it read.
- Agents can read Odoo on a schedule, for example a Friday summary of unbilled timesheets by project. Writes an agent proposes appear in agent approvals for review.