

At a glance
Before you start
You need:- An owner or admin role in Hebno.
- The Float account owner, or a person with the account owner’s access, to copy the API key.
- Float time tracking turned on in your account if you want logged time in answers.
Connect Float
1
Allow the integration
Open Admin → Connectors → Catalogue, find Float under PSA, time and resourcing, and set it to Allow.
2
Connect the organisation
Select Connect, paste the Float API key, then select Test connection. Hebno checks that it can read people, projects and allocations, and shows the Float account name.
3
Choose teams and data areas
Under Who can use it, choose All teams or pick teams. Under Data areas, choose what members can see. See Data areas.
4
Set access
Leave Access on Read and write to let members propose new and changed allocations, or choose Read only.
Data areas
Data areas control what members of the allowed teams can see through the organisation connection.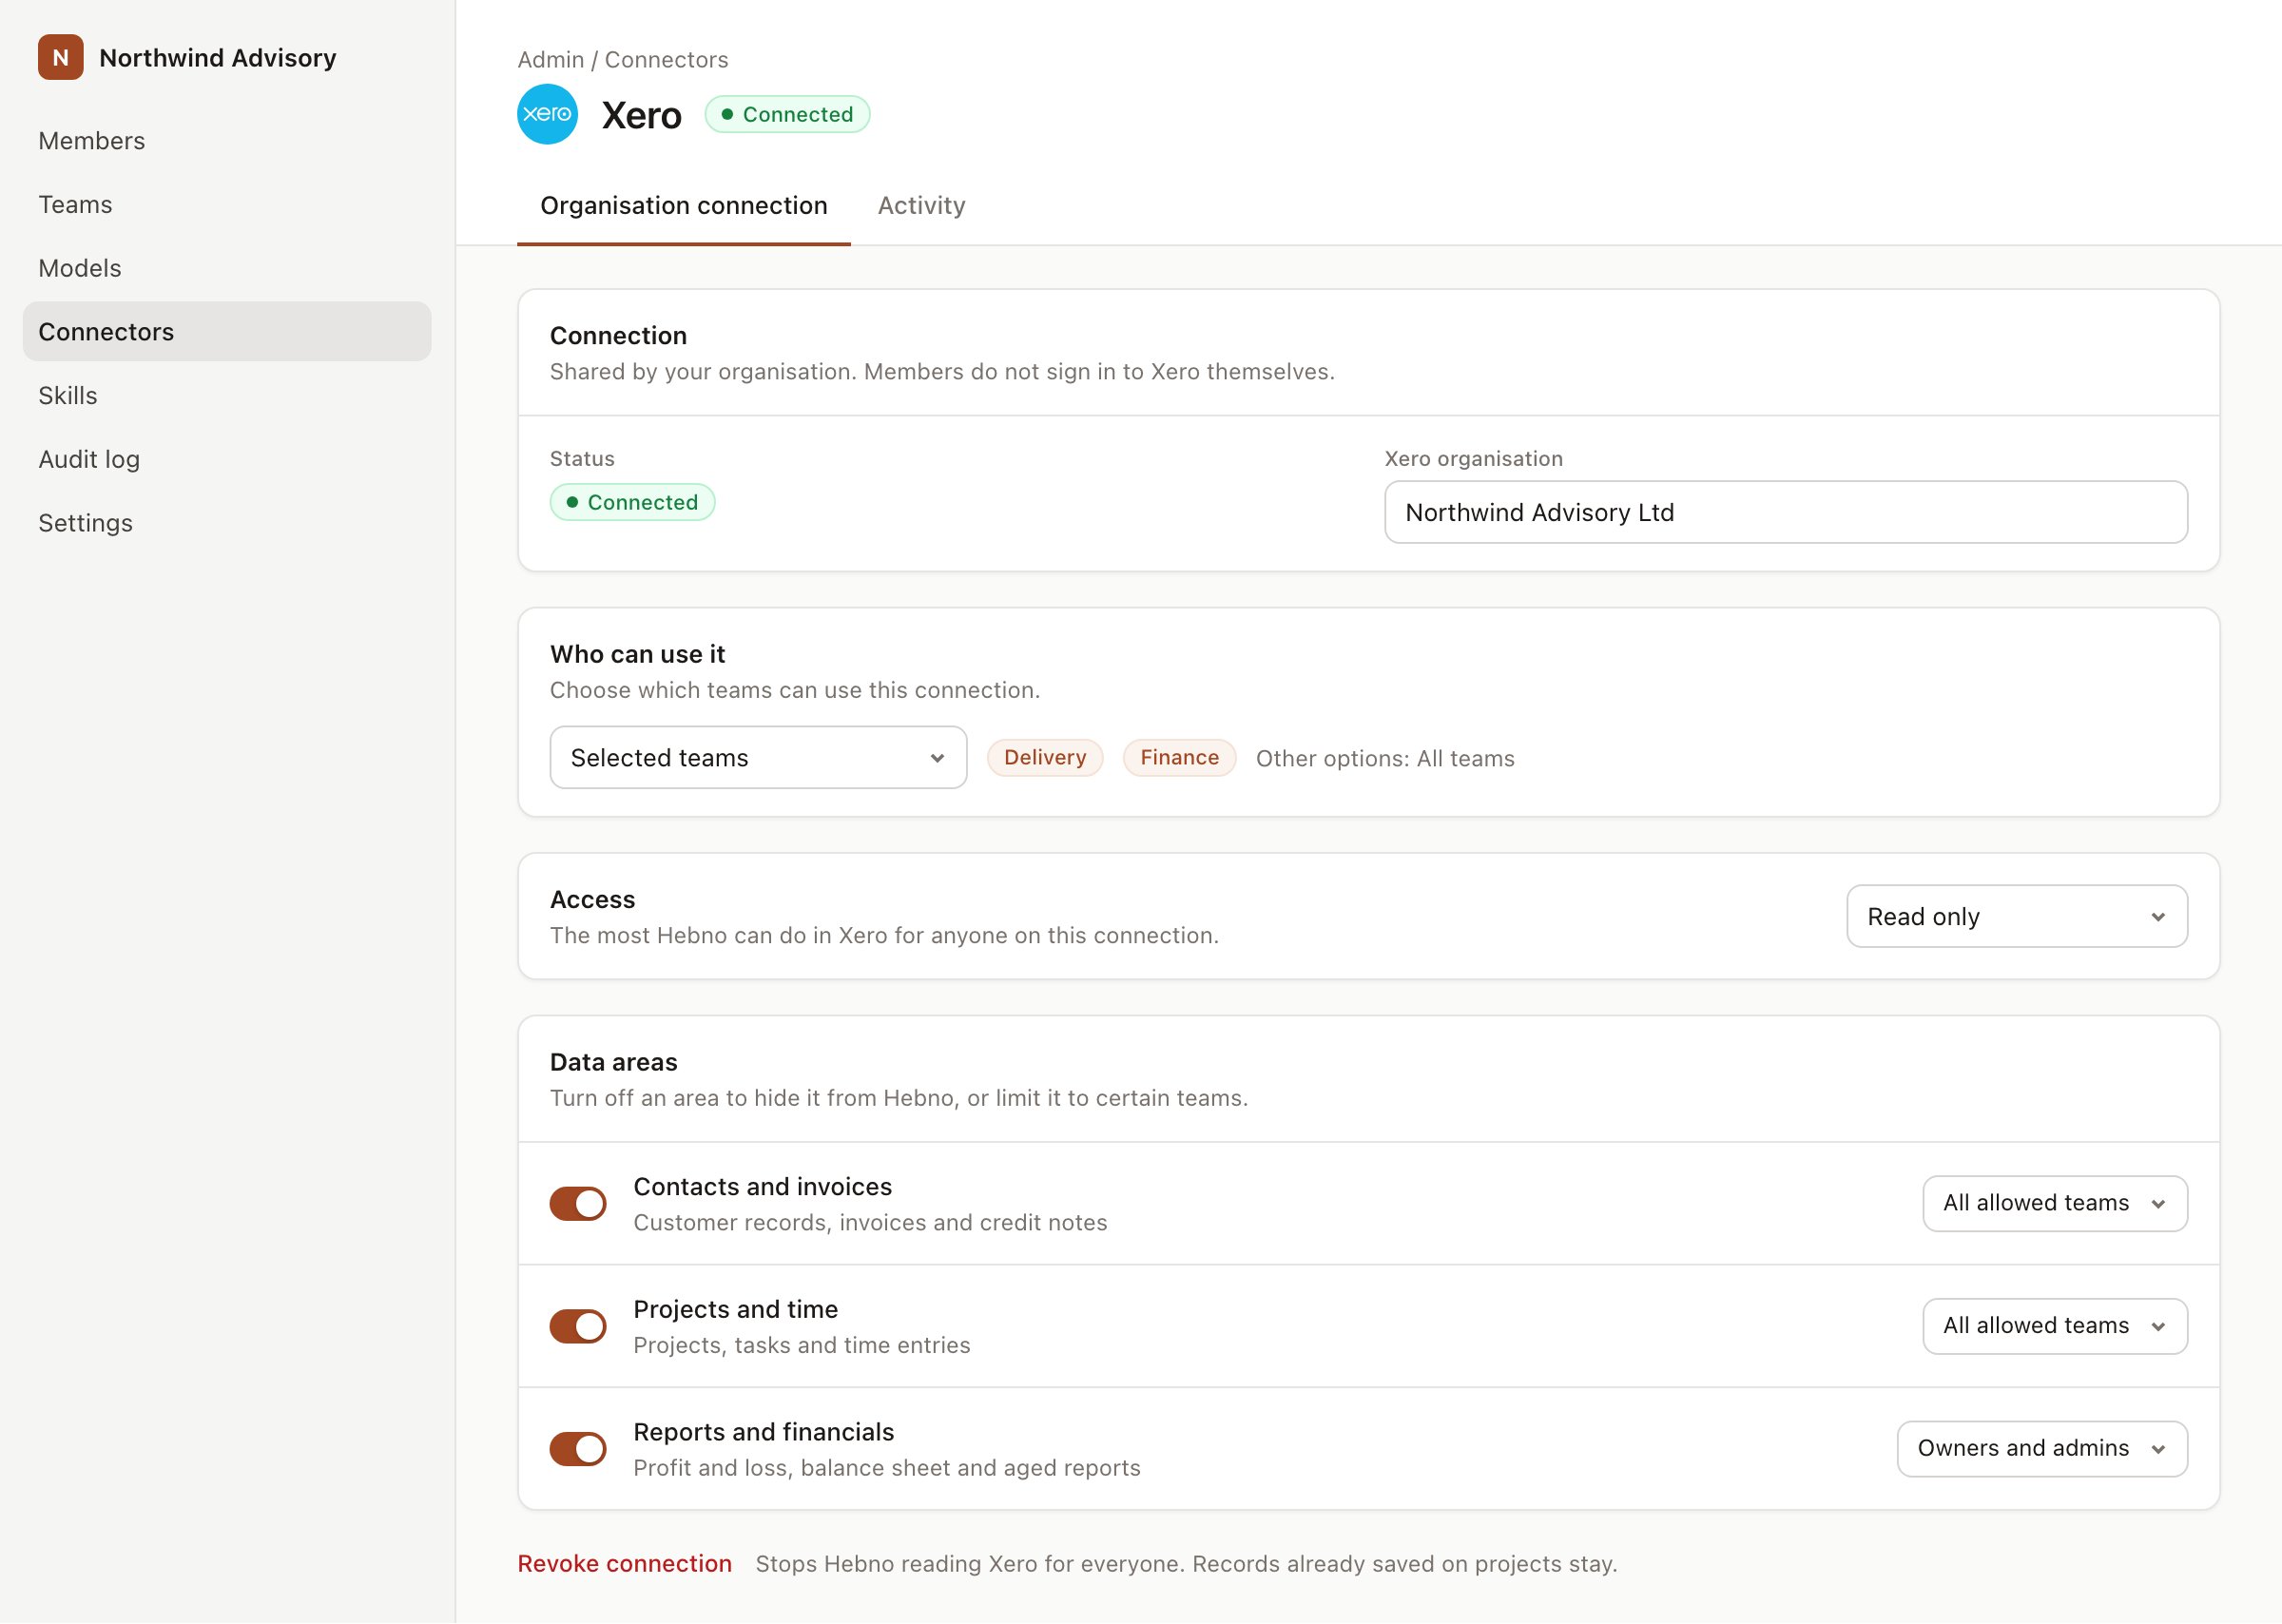
An organisation connection with team access and data areas. Financial figures default to owners and admins.
Hebno reads who is away and when. It does not read time off notes.
What Hebno reads
Capacity is worked out from each person’s work days and hours, minus time off and holidays, at the time of the request, so it matches the Float schedule. Reads are live. Hebno queries Float when a request needs it. Only what a reply used is stored with the conversation as its sources.
What Hebno writes
Every write appears first as a confirmation card. You can change any field before you select Confirm.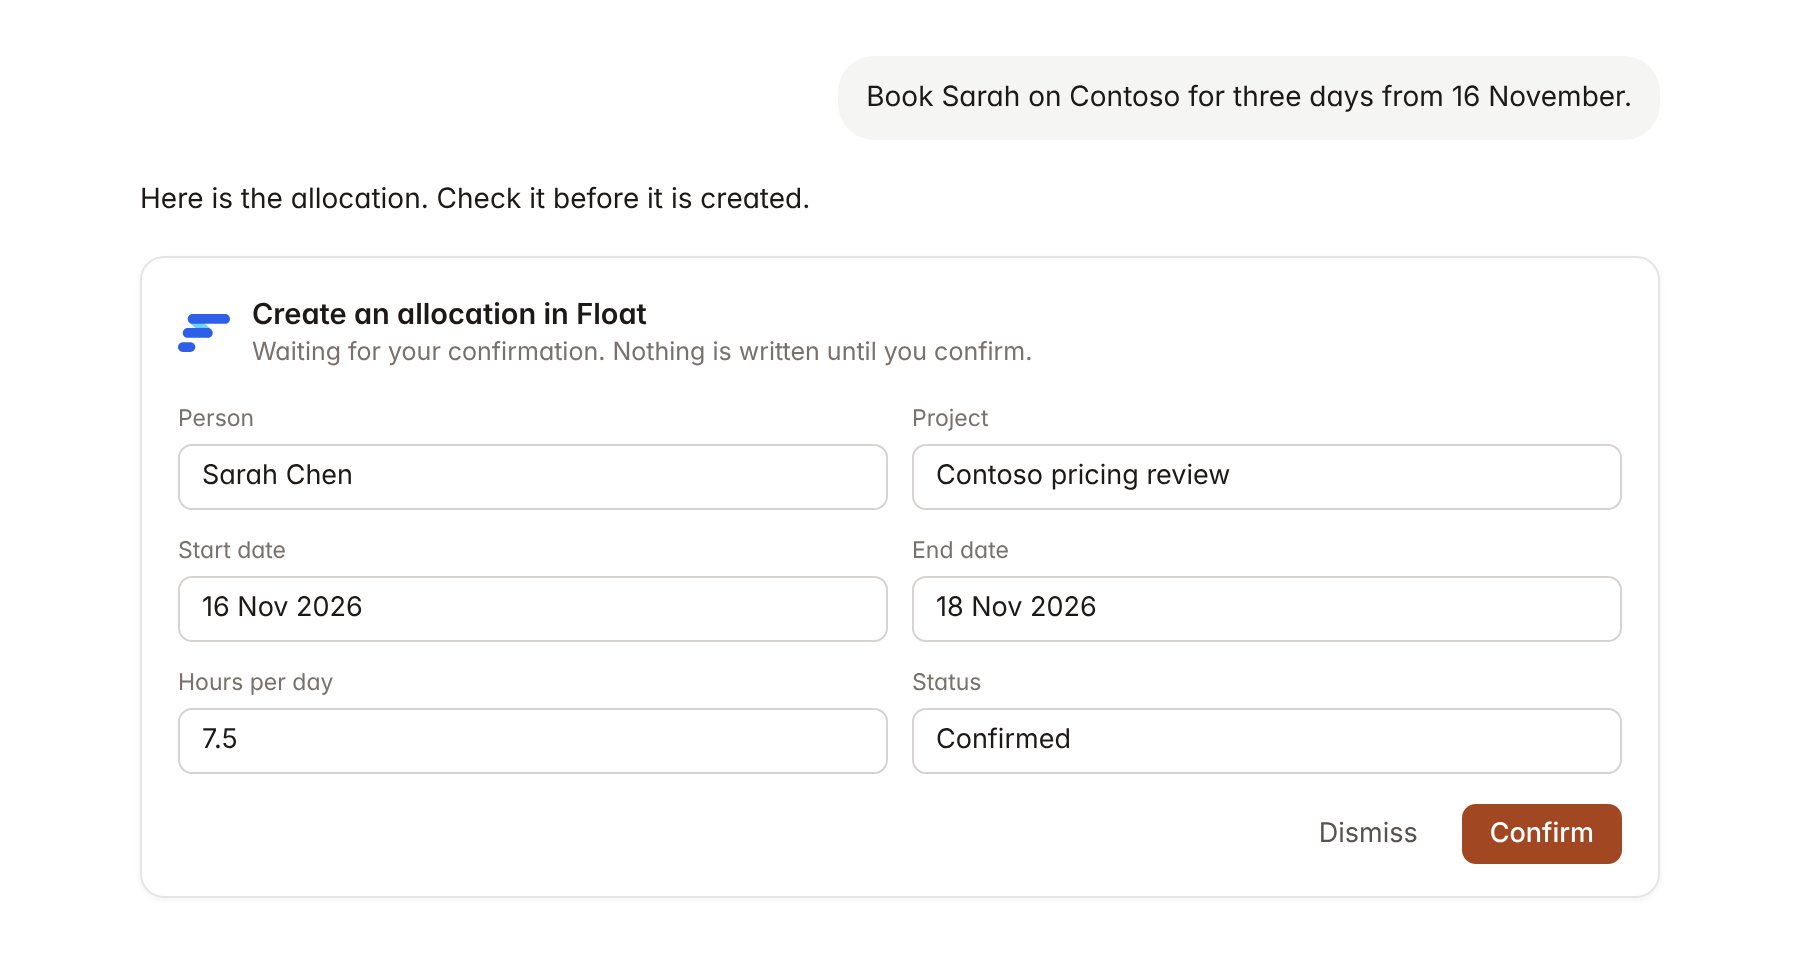
A Float change pending confirmation. Nothing is written until you confirm.
Link a project to a Float project
Linking marks which Float projects belong to a Hebno project, so you can ask “who is on this next week?” without naming them.- Open the project and select Brain.
- Under Linked records, select Link record, then Float.
- Search by project name or client, and select the project. Repeat for each Float project in the engagement.
Use Float in chat
-
Attach: open the + menu, choose Sources → Float, and pick a person, a project or a schedule period. Or type
/and choose Float. -
Ask: name the person, project or week in your request. For example:
Who in the pricing team has at least three free days in the week of 16 November?
Show everyone allocated to the Contoso pricing review until the readout, and flag anyone in overtime.
Move Priya’s Contoso allocation to start on 18 November at 6 hours a day.
- Research runs show a Checking Float step, with a chip for each person, project and allocation it read.
- Agents can read Float on a schedule, for example a Monday list of people under 50 per cent scheduled for the next fortnight. Writes an agent proposes appear in agent approvals for review.