

At a glance
Before you start
You need:- An Atlassian account with access to the Jira Cloud site you want to use.
- An allowed integration. An owner or admin sets Jira to Allow under Admin → Connectors → Catalogue.
- Approval from your Atlassian organisation admin if they require approval for third-party apps.
Connect Jira
1
Start the connection
Open Settings → Connections, find Jira and select Connect. You can also select Connect from the prompt in a chat.
2
Choose your site
Sign in to Atlassian, choose the Jira site, for example
northwind.atlassian.net, and select Accept.3
Return to Hebno
The card shows Connected with the site name.
What Hebno reads
Hebno searches Jira with JQL, for example
project = CTO AND status != Done ORDER BY priority DESC. You can paste your own JQL into a request and Hebno runs it as written.
Reads are live. Hebno queries Jira when a request needs it. Only what a reply used is stored with the conversation as its sources.
What Hebno writes
Every write appears first as a confirmation card. You can change any field before you select Confirm.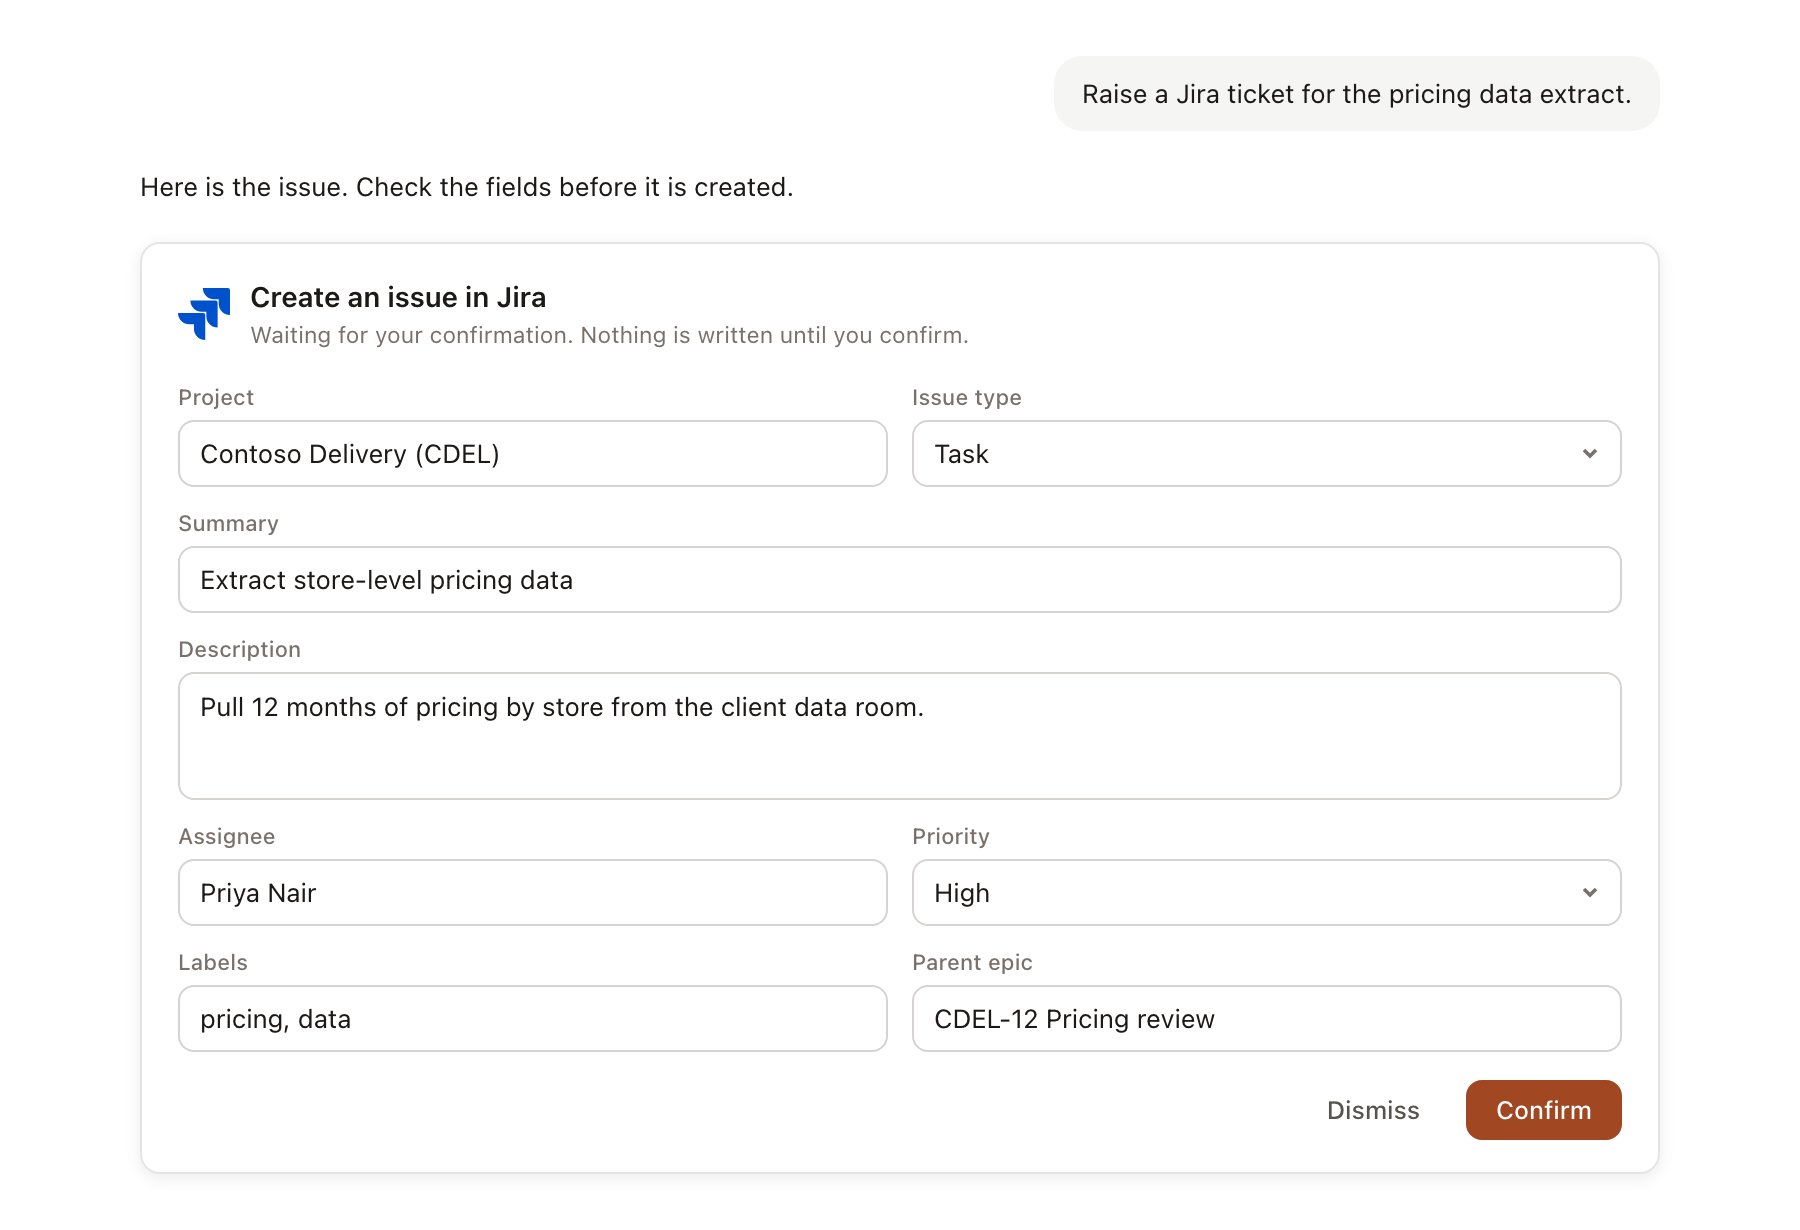
A Jira change pending confirmation. Nothing is written until you confirm.
Link a project to a Jira project
Linking marks which Jira project belongs to an engagement, so you can ask “what is blocked?” without naming it.- Open the project and select Brain.
- Under Linked records, select Link record, then Jira.
- Search by project key or name and select it. Repeat if the engagement spans several Jira projects.
Use Jira in chat
-
Attach: open the + menu, choose Sources → Jira, and pick an issue, epic or sprint. Or type
/and choose Jira. -
Ask: name the ticket, epic or sprint in your request. For example:
Summarise what shipped in the last two sprints on the Contoso data migration, and list what is still blocked.
Draft a weekly status update for Contoso from the open issues in CTO, grouped by epic.
Log 2 hours on CTO-142 for yesterday with the note “Reviewed export logic with the client team”.
- Research runs show a Checking Jira step, with a chip for each issue it read.
- Agents can read Jira on a schedule, for example a Friday summary of overdue issues. Writes an agent proposes appear in agent approvals for review.