

At a glance
Before you start
You need:- A NetDocuments user with access to the cabinets and workspaces you want to use.
- An allowed integration. An owner or admin sets NetDocuments to Allow under Admin → Connectors → Catalogue and chooses your NetDocuments service region: US (
vault.netvoyage.com), EU (eu.netdocuments.com), Germany (de.netdocuments.com) or Australia (au.netdocuments.com). - Approval from your repository administrator if your repository restricts which applications can use the NetDocuments REST API.
Hebno does not request
full or admin. It cannot change access lists, delete documents or manage the repository. Ethical walls and access lists that your administrators set in NetDocuments apply to every request.
Connect NetDocuments
1
Check the integration is allowed
An owner or admin controls this under Admin → Connectors → Catalogue. If NetDocuments shows Blocked, ask an admin to set it to Allow.
2
Start the connection
Open Settings → Connections, find NetDocuments under Files and select Connect. You can also select Connect on the prompt that appears in chat the first time you use NetDocuments.
3
Approve access
Sign in to NetDocuments with your firm credentials, choose the repository if you belong to more than one, and select Allow. Hebno returns you to the app with a NetDocuments connected message.
What Hebno reads
The cabinets and workspaces your organisation selects are stored in the knowledge index and searched by meaning. NetDocuments access rights and ethical walls are checked at search and again at read. Attaching a specific document reads it as it is now, with your account. Only the excerpts a reply used are stored with the conversation as its sources.
Documents larger than 25 MB, images and audio appear in lists with their profile but cannot be read as text, so you are prompted to open them in NetDocuments.
What Hebno writes
Every write appears first as a confirmation card. You can change any field before you select Confirm.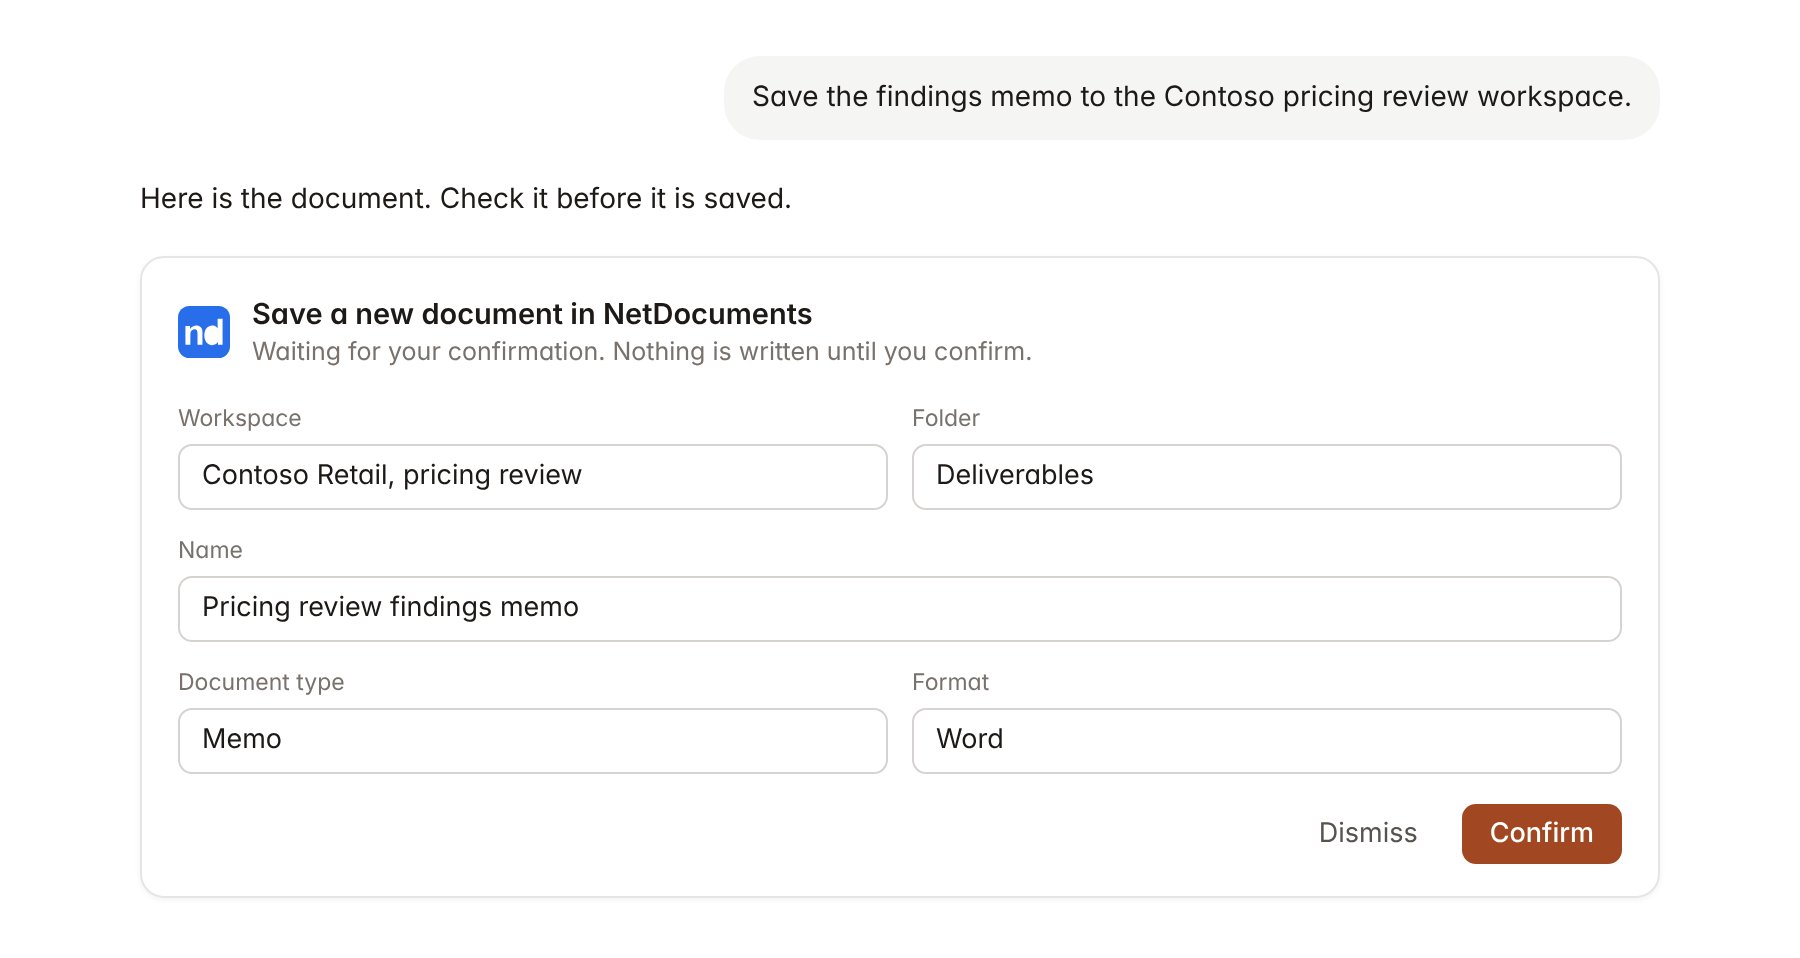
A NetDocuments change pending confirmation. Nothing is written until you confirm.
Link a project to a workspace
Linking marks which NetDocuments workspaces belong to an engagement, so you can ask about “the matter documents” without naming the workspace.- Open the project and select Brain.
- Under Linked sources, select Link source, then NetDocuments.
- Search by workspace name, client or matter, and select Link.
Use NetDocuments in chat
-
Attach: open the + menu, choose Sources → NetDocuments, and pick a document or a version. Or type
/and choose NetDocuments. -
Ask: name the client, matter, document ID or author in your request. For example:
Search the Contoso Retail workspace for anything on promotional pricing and list each document with its ID.
Compare version 2 of the Contoso proposal with the official version and summarise the changes to scope.
Save the steering committee pack to the Deliverables folder of the Contoso workspace as a new version of the draft.
- Research runs show a Searching NetDocuments step, with a chip for each document and version Hebno read.
- Agents can read linked workspaces on a schedule. A save an agent proposes appears in agent approvals for review.