

At a glance
Before you start
You need:- A Miro account in the team that contains your client boards. You pick a team when you connect, and Hebno uses that team.
- Edit access to a board before Hebno can add sticky notes to it.
- An allowed integration. An owner or admin sets Miro to Allow under Admin → Connectors → Catalogue.
- Approval from your Miro company admin if your company restricts which apps members can install.
Connect Miro
1
Start the connection
Open Settings → Connections, find Miro under Design and whiteboards and select Connect. You can also select Connect from the prompt in a chat.
2
Choose a team
Sign in to Miro, select the team that contains your client boards, and select Add.
3
Return to Hebno
The card shows Connected with your Miro team name.
What Hebno reads
Reads are live. Hebno queries Miro when a request needs it. Only what a reply used is stored with the conversation as its sources.
What Hebno writes
Every write appears first as a confirmation card. You can change any field before you select Confirm.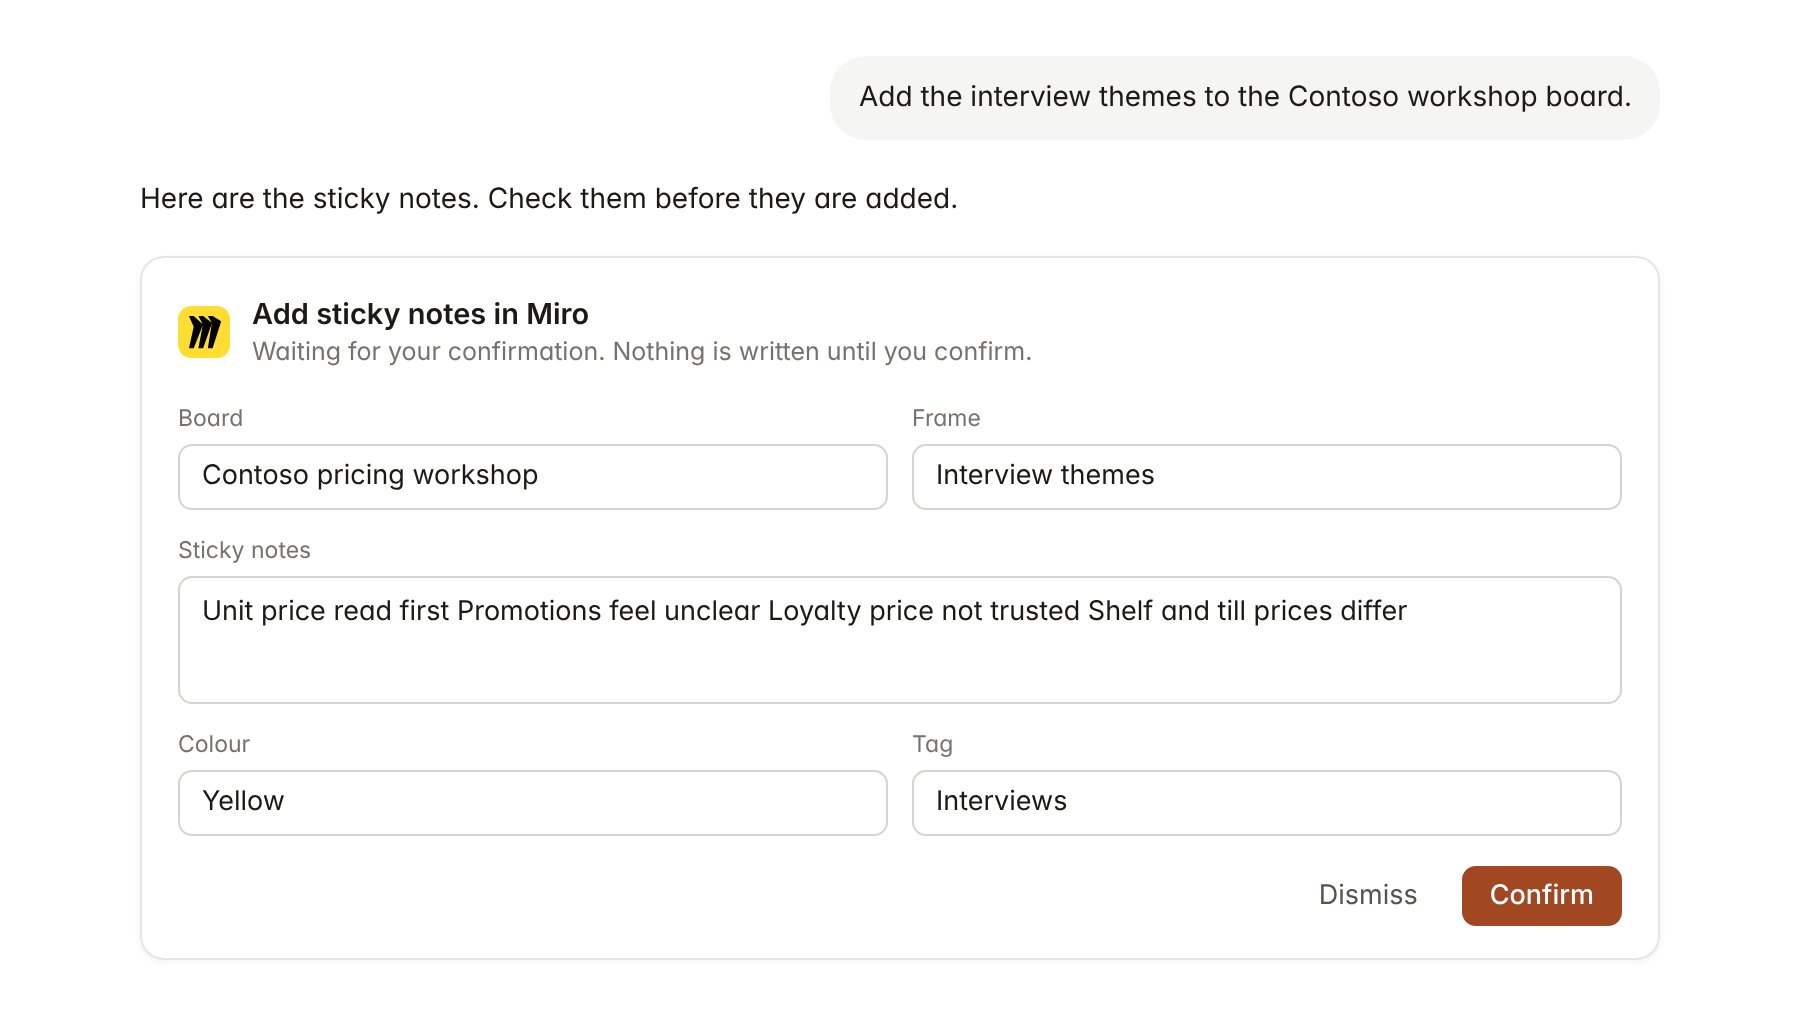
A Miro change pending confirmation. Nothing is written until you confirm.
Link a project to a board
Linking marks which Miro boards belong to an engagement, so you can ask “what did the workshop conclude?” without naming the board.- Open the project and select Brain.
- Under Linked records, select Link record, then Miro.
- Paste a Miro board link, or search by board name, and select it. Repeat for each board in the engagement.
Use Miro in chat
-
Attach: open the + menu, choose Sources → Miro, and pick a board or a frame. Or type
/and choose Miro. -
Ask: name the board, frame or workshop in your request. For example:
Group the sticky notes in the pricing tensions frame into themes and count the notes in each.
Write up the Contoso workshop board as a one-page summary with decisions and open questions.
Create a board for the Contoso readout rehearsal and add one sticky note for each key finding.
- Research runs show a Checking Miro step, with a chip for each board and frame it read.
- Agents can read Miro on a schedule, for example a summary of new sticky notes after each workshop. Writes an agent proposes appear in agent approvals for review.